
Food photography tips
Every one of us sometimes drools over a good photo of goodies. Some of the photos also evoke subconscious feelings or revive distant memories. We remember, for example, our childhood, a visit to our grandmother, the table on which she served us delicious home-made cookies or pastries... Well, in fact, the purpose of a good (especially commercial) photo is to evoke a whole set of positive feelings in a person, which have their own purpose - to we identify with the image and ultimately buy the goods offered to us. Of course, this is done in a sophisticated way, and with a good photo of the food, we can enjoy it just as we would actually eat the food. Because the visual impact of food is so important, food photography has become an art that can compete with fine cuisine. As with the latter, it is also the case with photography that it is necessary to know quite a few basic rules, and when we have mastered them to artisanal perfection, we can devote ourselves to creativity. But I'll write about that in another post, here I'd like to present just a few tips that don't require too much energy and can improve your food photos without too much effort. Broadly speaking, this can be divided into two areas that often require two people in commercial photography. The first is the photographer who has control over lighting, shooting angle, etc. The other is the arranger, who prepares the food so that it looks tasty and attractive, and makes sure that the scene is always the way the client wants it. The roles are sometimes a bit mixed up here, but in our case we're going to combine all these people into one person - you. So what can you do to improve your photos, regardless of whether you are a little more ambitious in taking pictures of home-made delicacies or you would like to capture a tempting and delicious meal in a restaurant with your mobile phone.
Creating a scene
Of course, you are quite limited in this regard when photographing food in a restaurant, but you can still do something, you can remove distracting elements that you don't want in the picture, you can arrange the plate, salt shaker, utensils in the composition you want, you can choose the angle of photography. All of the above also applies to the home environment, except that there you probably have a little more options and time, because you may not be chased by friends who would rush after dinner, and you move things around the table for them. Include everything necessary in the composition to make the scene look natural, pay attention to details such as lines of accessories, auxiliary objects such as napkins... but above all, try to capture in the picture itself the feeling of what is actually the main object and that the scene is subordinate to it. We can easily use a light or dark scene, I will write about this a little further down.

Composition
When photographing food, you can use the principle "from above" and capture the image completely from the top, there you do not need to worry about selective focus, but you can focus more on the arrangement of the elements themselves. Another method of coverage or shooting angle is, of course, classic - that is, to stand somewhere 30-45 degrees from the plane. Here you have more options with SLR cameras, because they have a shallow depth of field when the aperture is open, and in this way you can isolate the main object from the secondary ones. Basic compact or mobile cameras usually do not allow this to such an extent and are more suitable for photography "from above". But this is not the rule.
Cut out
Approach the object! Don't try to narrow your field of view, it doesn't say anywhere that the entire plate or cup must be in the photo from edge to edge. This also avoids unwanted things in the background, and in a close-up shot, the depth of field is shallower, making it easier to isolate and emphasize the main object.


Lighting
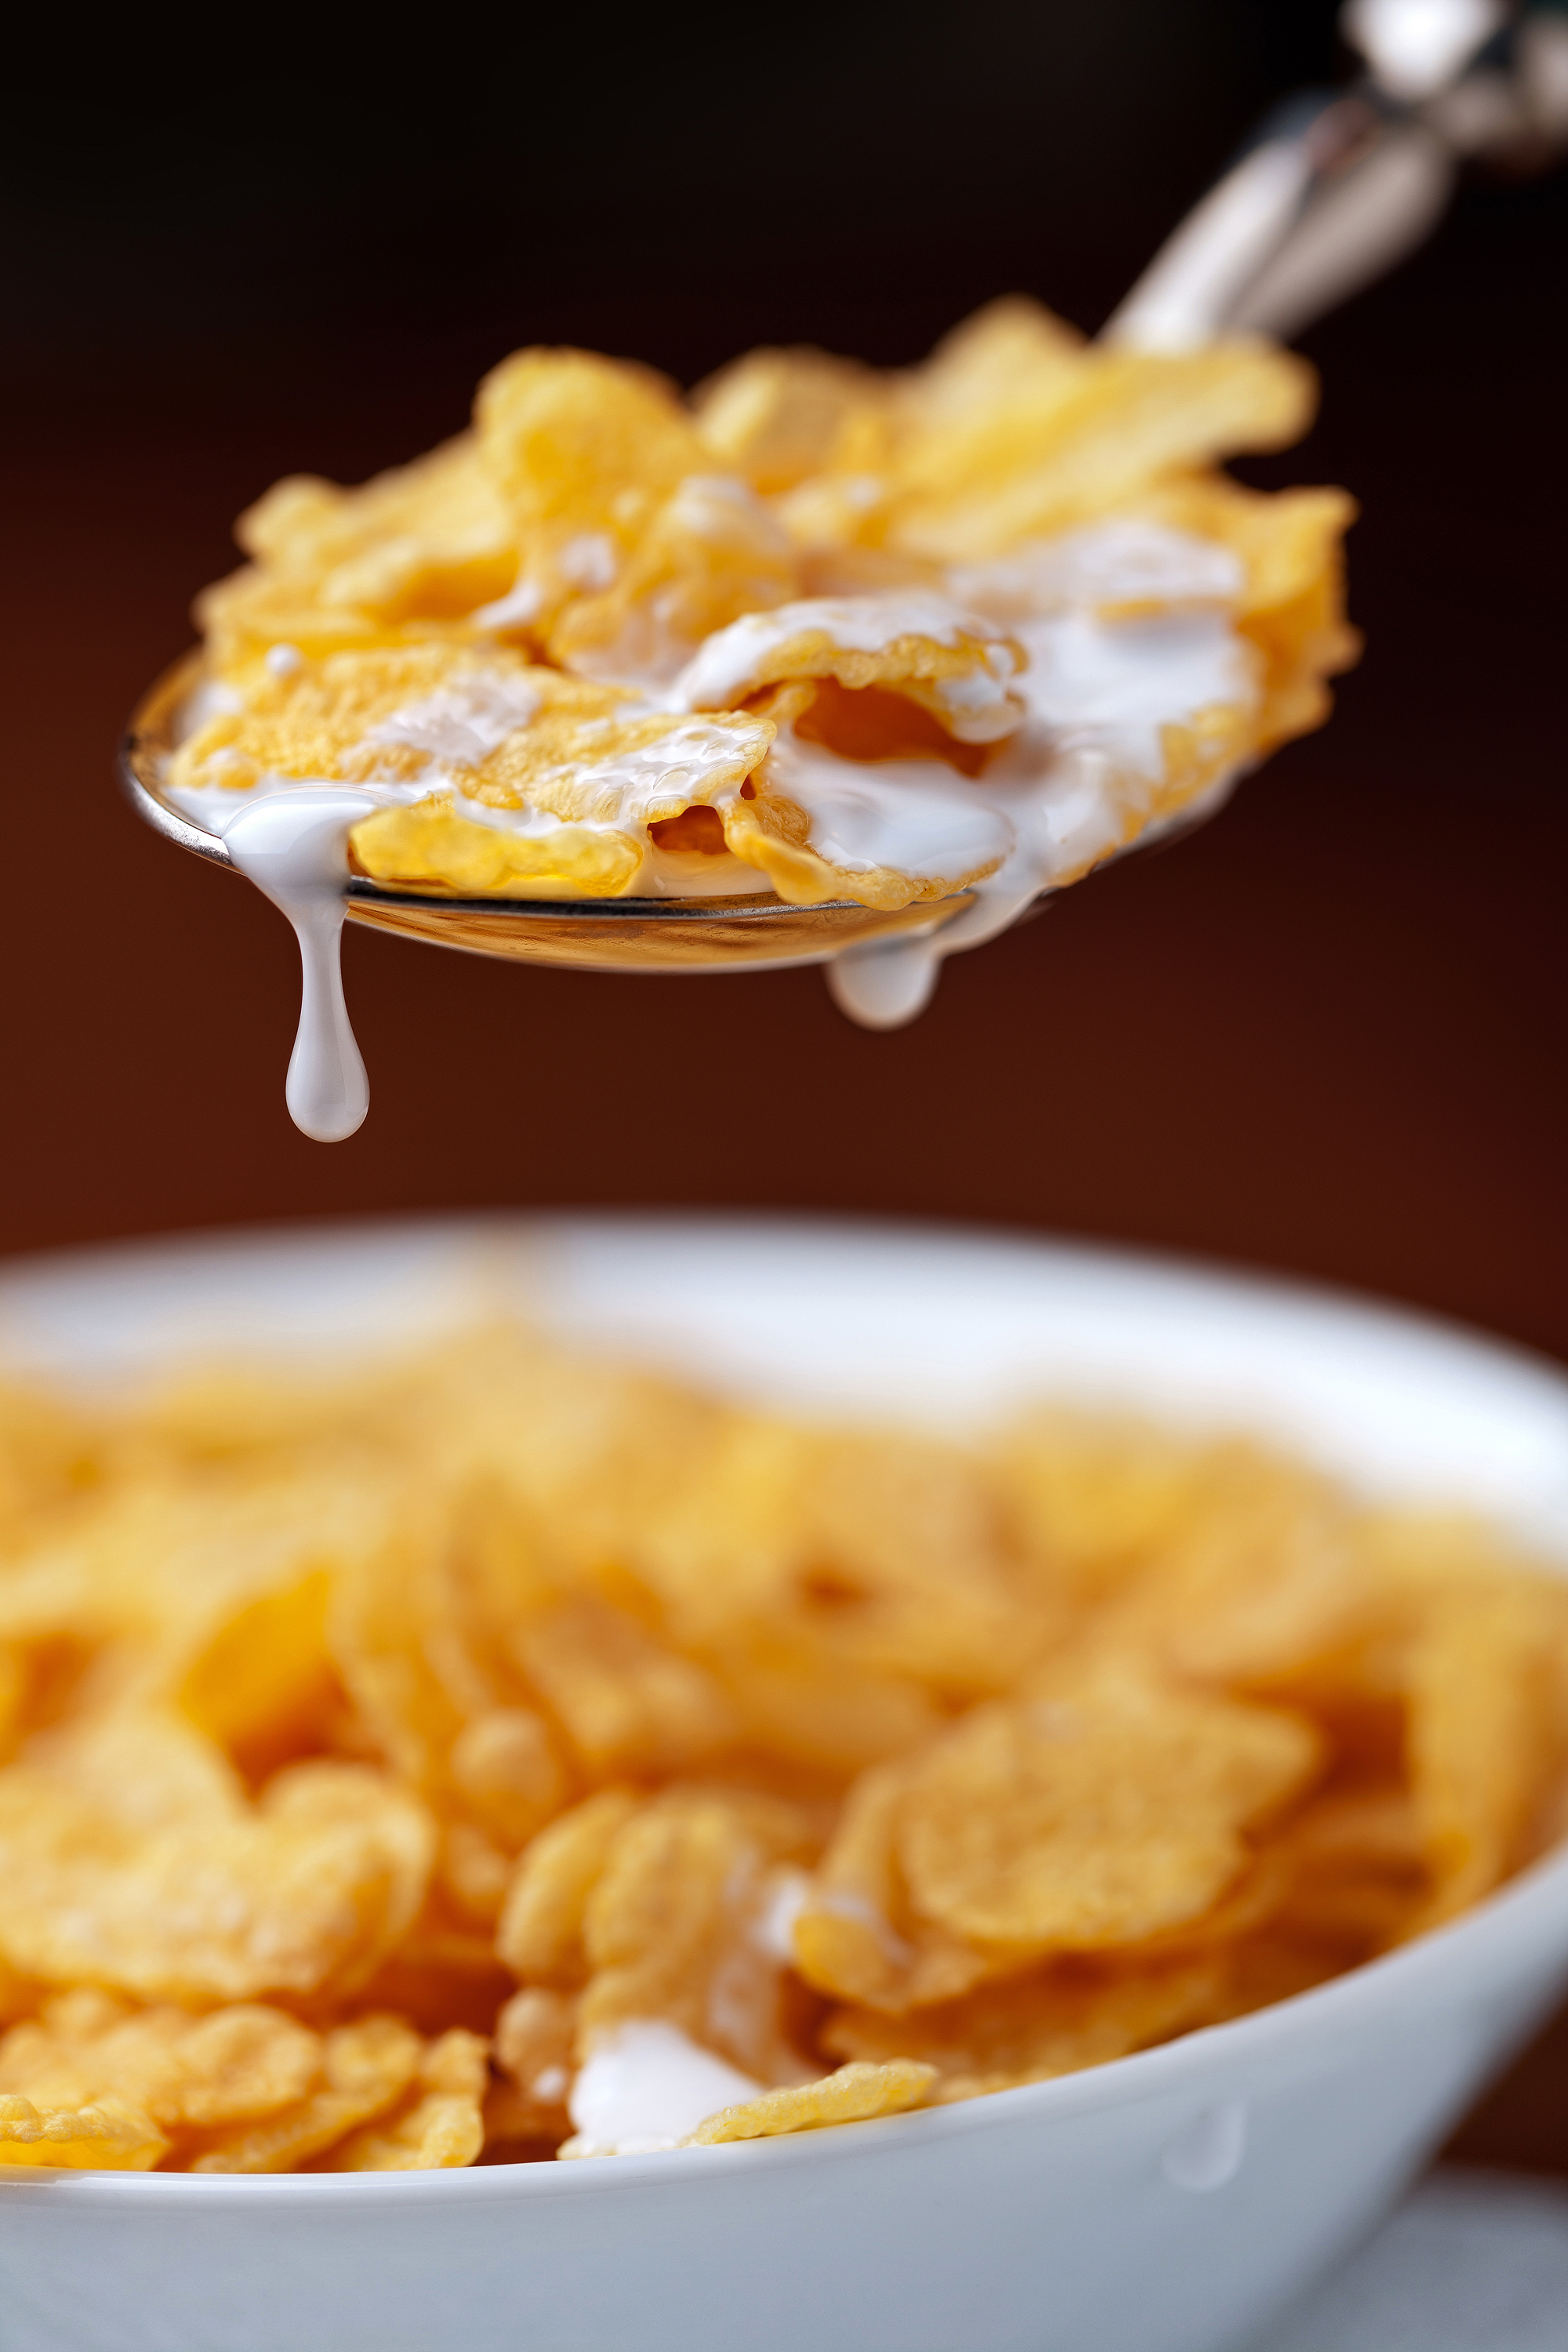
Daylight is excellent for photographing food, especially if we have a work surface or table near a window. Strong and direct sunlight is of course too harsh, so in such a case, we cover the window with a curtain that lets in most of the light, but above all softens it so that the shadows are not so sharp. If we want food to look tasty and attractive, we must emphasize its structure. In practice, this means that the light mostly falls from behind. Once we've mastered that, we can decide on a dark or light scene. With the latter, we try to have the surroundings as light as possible and the background is also very bright, in fact in many cases quite white and overlit. The viewer's attention is here on the difference between the object and its colors and the whiteness that surrounds it. In the case of a dark scene, we want everything in darker tones, only the object is partially lit and the focus rests on the lighting of this object. This lighting is more suitable for a scene that has a more rustic principle.


