Camera obscura
You've probably heard of the term "camera obscura". It is a principle of image display that was developed long before photography, and it uses the fundamental principles that guided its development. If you have at least a little dexterity and you are over 5 years old, you can make it yourself at home with the most basic tools. Let's first see what it is and how it works. The first records of this light phenomenon date back to 500 BC in China. After that, not much was written about it, or no information could be found. The first record of Western civilization about this was created under the pen of Aristotle, who tried to explain this phenomenon in his records with the name "Problems". Later, many researchers and innovators dealt with it already in the Middle Ages. Ibn al-Haytham (965–1039), Arab Physicist, also known as Alhazen, described the camera obscura effect. Over the centuries, others began to experiment with it, mainly in dark rooms with a small opening on the shutters, mainly to study the nature of light and observe safely solar eclipses .
Giambattista Della Porta in 1558 in his Magia Naturalis wrote about using a concave mirror to project an image onto paper and using this as a drawing aid. But about the same time the use of a lens instead of a pinhole was introduced. In the 17th century, the camera obscura with a lens became a popular drawing tool, which then evolved into a mobile device, first in a tent and later in a box. Photographic camera , as it developed in the early 19th century, was essentially an adaptation of the box-lens camera obscura.
Well, enough about history, let's see how things work.
Working principle
If we have available a darkened room that has the possibility of a small opening through which external light enters the interior, we will notice on the opposite wall a projection of a scene or event, the light of which comes through the aforementioned hole. It is the reflection of light from objects and their path through the hole. In modern cameras, this opening is called the aperture and is part of every lens. The hole can be opened and closed to obtain adequate lighting depending on the intensity of the light. The smaller the hole, the less light comes through, and as a result, the image is darker. At the same time, it is also sharper.
The flow of light goes something like this. Light enters the dark box through a small hole and creates an inverted image on the wall opposite the hole:

Usage
Camera obscura or in English Pinhole camera, but we can also use the Slovenian term pinhole camera (which personally isn't the luckiest coin for me) has some fun and interesting uses. Technically, of course, it cannot compete with modern cameras that have installed highly sophisticated lenses, but still, taking pictures with it can be very fun and educational.
As the most basic version, it can only be a darkened room, which has a small round opening on the window through which light can enter the room. As a result, an image of the scene and the events where the window is looking will appear on the opposite wall (turned upside down).
It is also useful for observing the sun, which could damage our vision if we looked directly at it due to the strong light. Sunspots are clearly visible on such a projection of the sun, and this method is also very suitable for observing the course of a solar eclipse.
Making your own camera
A camera that can also be used to take photos can be made by yourself in a very simple way. With the help of a shoe box, which must be painted black inside to prevent light scattering and reflections, we can recreate and make our own "pinhole camera". We make a small hole on the front side, which will represent our "lens". The best way is to cut a large hole (2-3 cm in diameter) in the wall of the box and cover it with black adhesive tape ("gorilla tape" is very suitable). Then, with the help of a larger sewing machine, we make an even and round hole in this part and our "lens" is ready. Photo paper or even film can be attached to the opposite wall inside the box and the camera is ready for work. Of course, we have to do everything in pure darkness or protective light if we use photo paper.
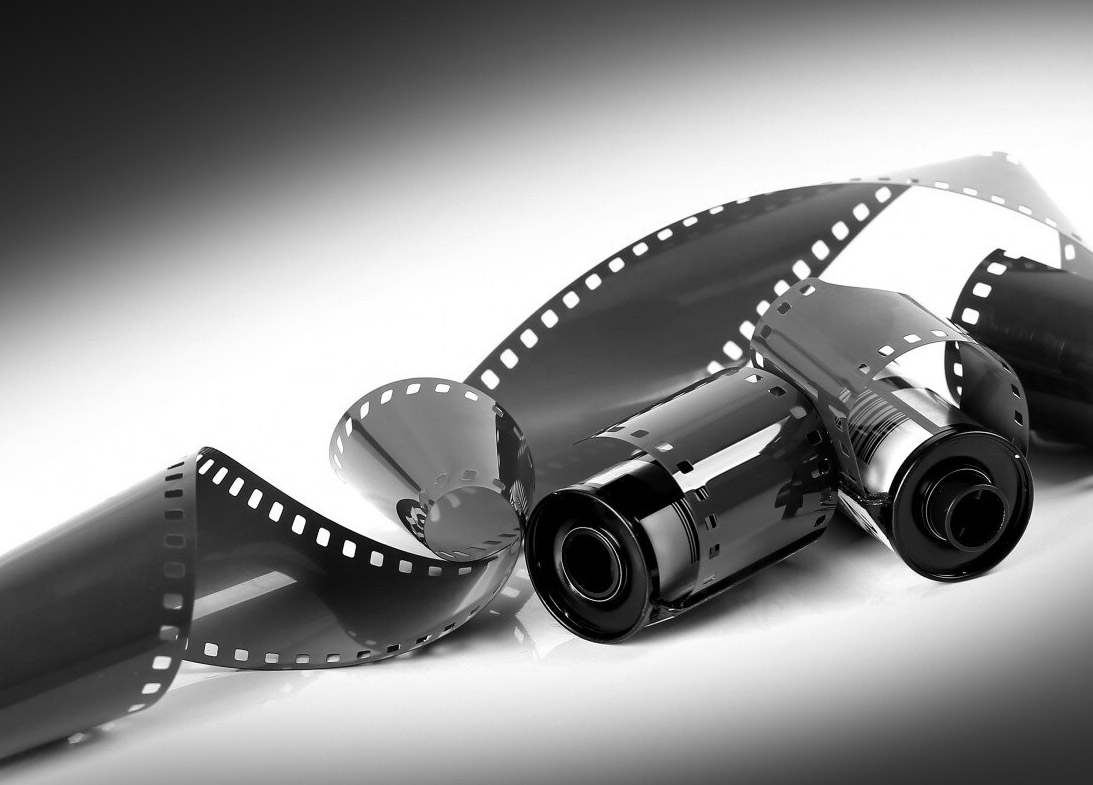
The front hole must of course be closed and we only open it when we take pictures. The exposure times are usually quite long (some 10 seconds) and as a result the movement captured by the camera will be quite blurry. We must also be careful not to move the camera during exposure. Illuminated paper or film must also be taken out of the box in complete darkness. It is also necessary to be aware that the image will be negative on paper. If we use film, the process is the same as with a classic analog camera.
Due to the small hole, the depth of field will of course be very large and practically everything will be in focus. If we want to calculate the size of the "screen", which here is represented by the aperture itself, we must divide the distance from the pinhole to the focal plane (actually, this is simply the dimension of the box) by the diameter of the pinhole. So if we have a distance between the first and the back wall of the box, let's say 150 mm. The hole is 1 mm in size, so the "f" value is 150.
In the age of digital photography, interest in pinhole cameras has remained, many people want to learn the basics of analog photography, and in addition, the results of such cameras often give unpredictable results, which is especially fun and interesting. Of course, such a technique can also be used with the help of a digital camera. If we have a camera with a detachable lens, we simply remove it and screw on the protective cap instead, which we made a small hole in the middle of, as described above.
In any case, taking pictures with such a camera is fun and educational, whether you make the entire camera yourself or use a digital camera.
Tomaž Berčič


